June 10, 2022
3 Common Causes of Burn Marks in Plastic Injection Molding
Injection molding, while a very advanced production method, is not exempt from error. One of its most common defects is burn marks, which affect the overall quality of the plastic component.
These errors can show up at any point of the molding process, which means you have to be ready to find the root cause of it when it arises. This is crucial not only in saving you from replacement costs but also in reducing machine downtime and material efficiency.
Not sure how to solve this defect? We cover the common causes of burn marks in plastic injection molding to help you deal with this potential hurdle.
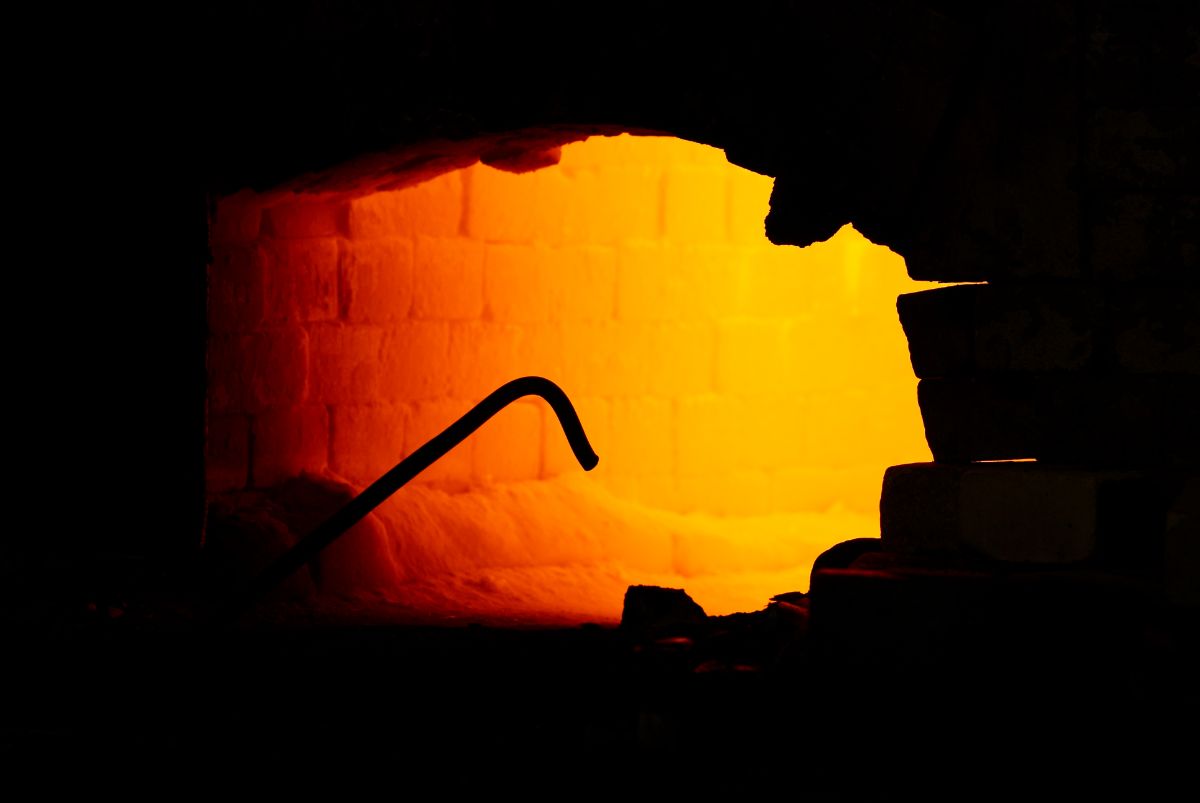
Also called gas traps and dieseling, burn marks are quite literally as the name implies: burns. This is much different from, say, brown streaks and swirls that you might find on the surface of a freshly molded plastic component.
If you’re unsure that the defect you’re seeing is a burn mark, look closer. They appear to be black or dark brown deposits on the part or mold itself — sometimes, these marks are covered in smoot. There may even be indentations from where the plastic has burned.
Unfortunately, burn marks are more than just an aesthetic problem. These defects can also affect the structural integrity of the component, as they cause degradation within the material and mold properties. Any burn mark poses the risk of eventual part failure.
So how does one fix a burn mark? Here are the three possible causes to look at:
One of the most common culprits of this defect is the machine or the process in which it molds the molten resin.
In some cases, the burn marks may be caused by the molding conditions. The molten resin may be flowing into the mold too quickly, or the backpressure may be too high. Problems with the machine hardware, such as gate sizing, nozzle size, and more can also be the reason behind a burn mark.
Here are the signs to look out for that indicate the problem most likely lies with your machine and the molding conditions”
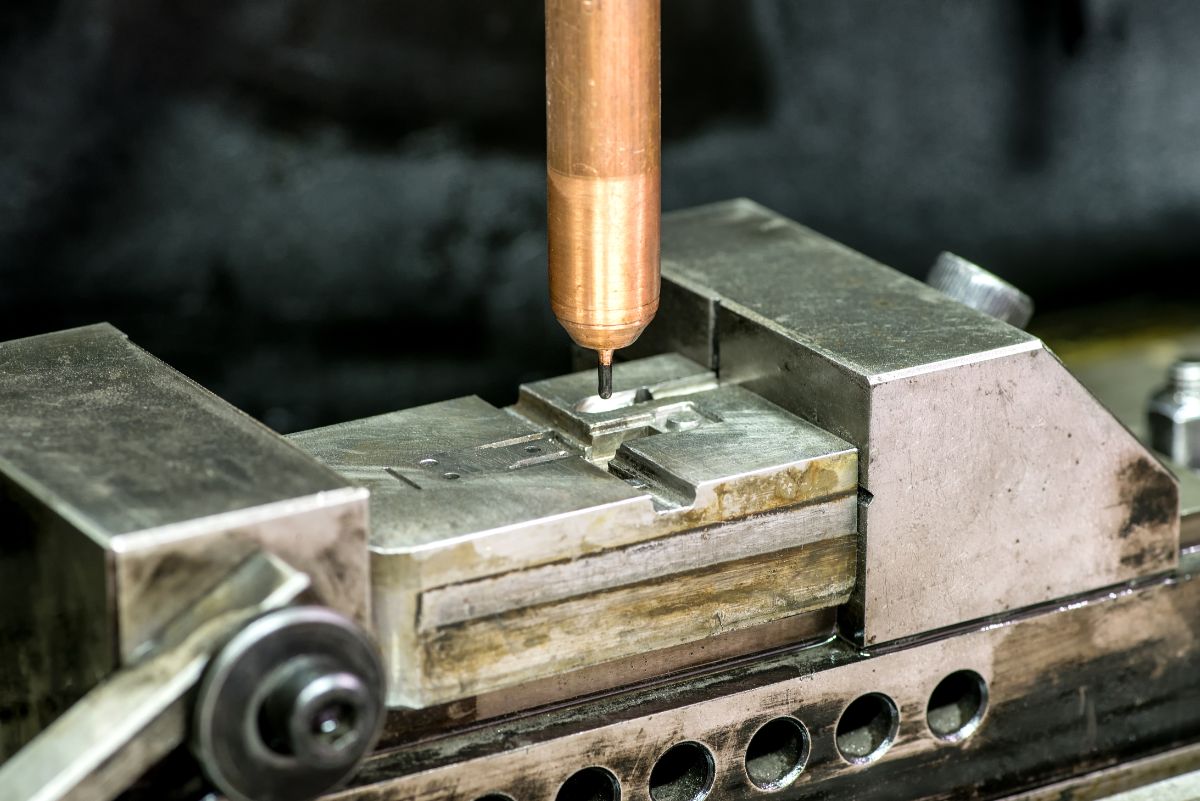
If the defect isn’t caused by the machine, the next thing to check is the mold itself. If the mold is not properly manufactured or doesn’t present the right conditions, then it can cause problems with venting and resin flow. As a result, the resin is likely to burn at the edges.
These are the signs that your burn marks are likely due to issues with your mold design:
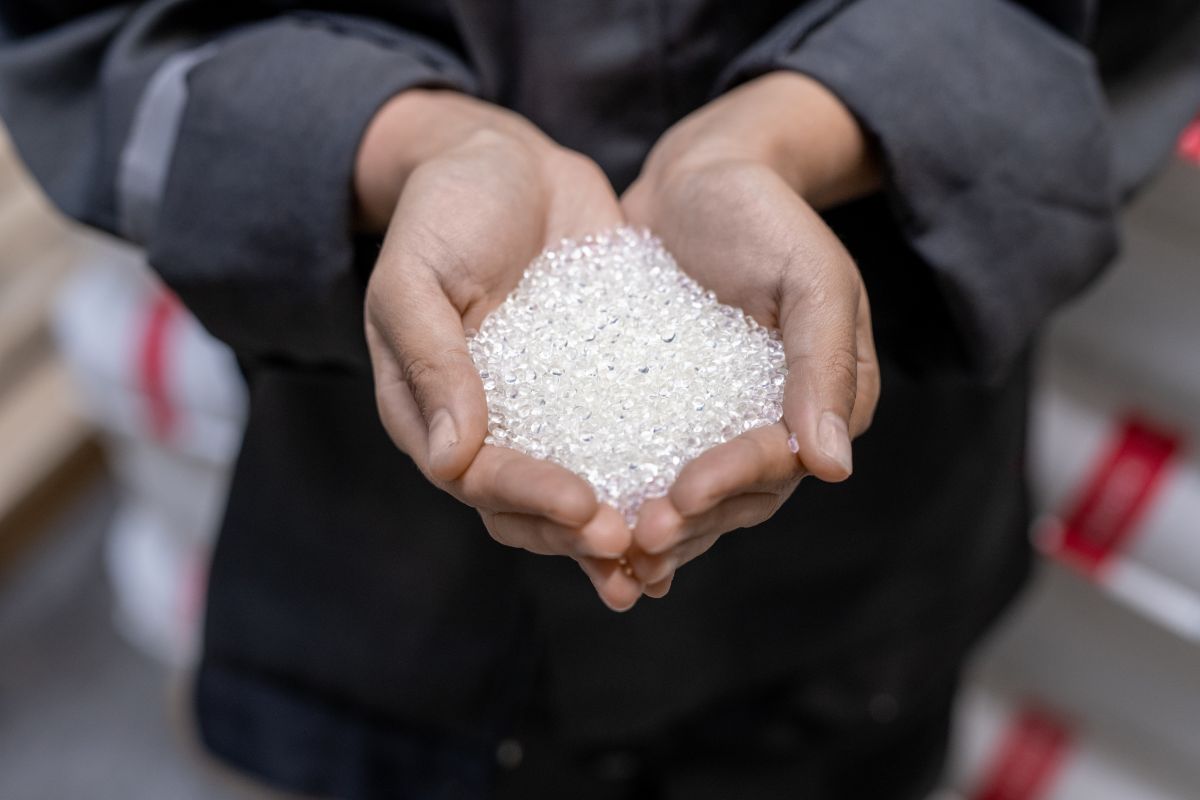
Lastly, you might have to check if the problem lies with the resin you’re using for your injection molding project. If the resin is wet or has an excessive moisture content, then this liquid will burn in the injection molding process. Hence, the burn marks in the finished product.
Some resins, such as PVC and acetate, are also more prone to burning — even without high moisture content. Keep this in mind if this is the material you’ve selected for your project.
One sure sign that the material is the cause of your defects is if the resin chars as it enters the mold. When this charred resin enters the melt stream, it becomes molded into the final product. If this happens, check for moisture as well as resin temperature. The temperature might be too high for the resin, in which case it should be recalibrated.
To fix the issue of burn marks, you not only have to know its root cause but also how to fix the root cause. Because burn marks can be caused by many different factors in the injection molding process, doing both can be tricky — especially when this is your first plastic project.
This is why the best way to address burn marks in injection molding, and prevent these defects from happening again, is to partner with an experienced injection molding company early on. The services of companies like Richfields — who have decades of experience in resolving defects under their belt — are invaluable when it comes to ensuring the quality of your mold design, mold maintenance, production, and final product.
Burn marks are a common injection molding defect. They can cause part degradation, mold damage, and even product failure. But, knowing the common causes of burn marks in plastic injection molding and working with the best injection molder can help you avoid burn marks altogether.
Partnering with a single injection molding provider streamlines operations by centralizing oversight of design, prototyping, production, and quality checks, slashing administrative burdens and miscommunications.
Read more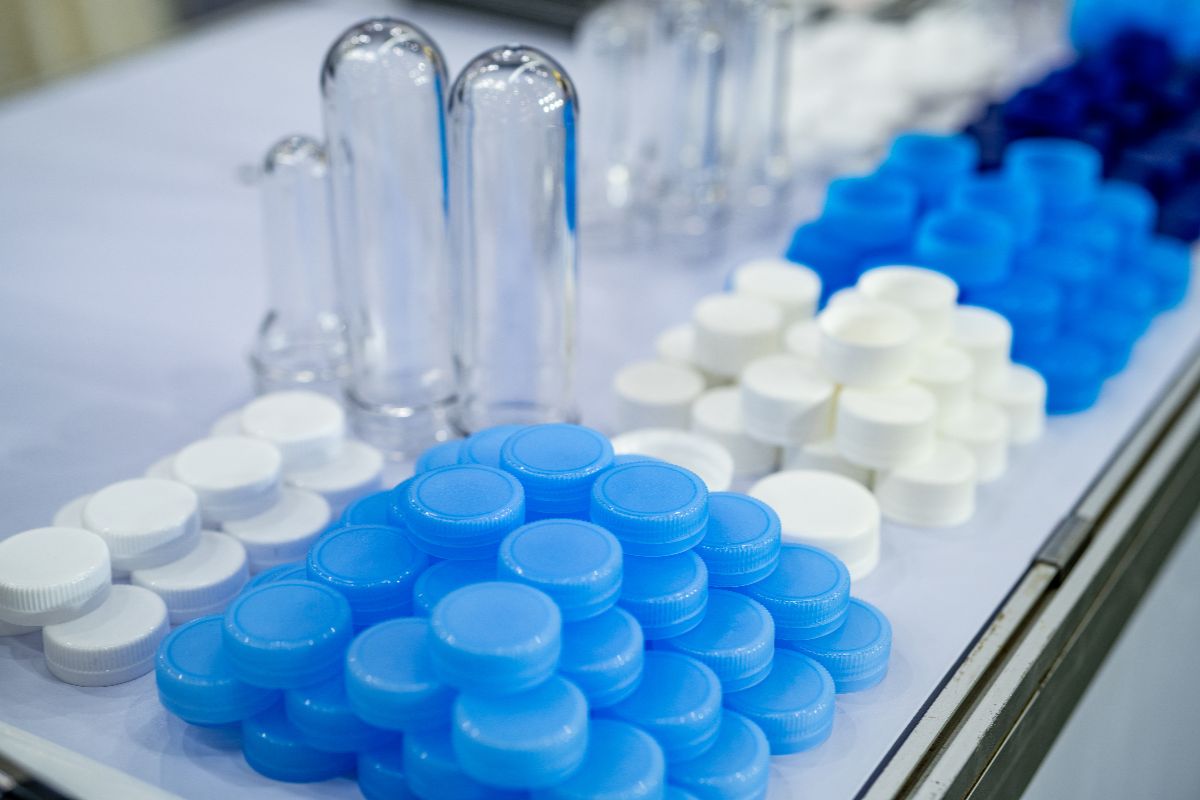
Plastic injection molding progresses through design for manufacturability, prototyping, precision tooling, material selection, automated production, and post-processing to ensure defect-free parts.
Read more
Scaling consumer product lines demands seamless integration to overcome supplier misalignments and delays.
Read more
Material selection profoundly affects the performance, durability, and user experience of consumer products.
Read more