November 21, 2022
8 Tips For Improving Plastic Injection Molding Design
Molded plastic parts can be made in even complex geometries, which means that injection molding designers have a lot of flexibility. However, there are several considerations when it comes to designing any part, and ensuring that the end product is functional and fit for its intended application. This means that the mold designing process is crucial.
At Richfields, part of our work as a China injection molding partner is assisting our clients with the successful design for the manufacturing process. Here are some tips for improving plastic injection molding design to help you and your parts succeed.
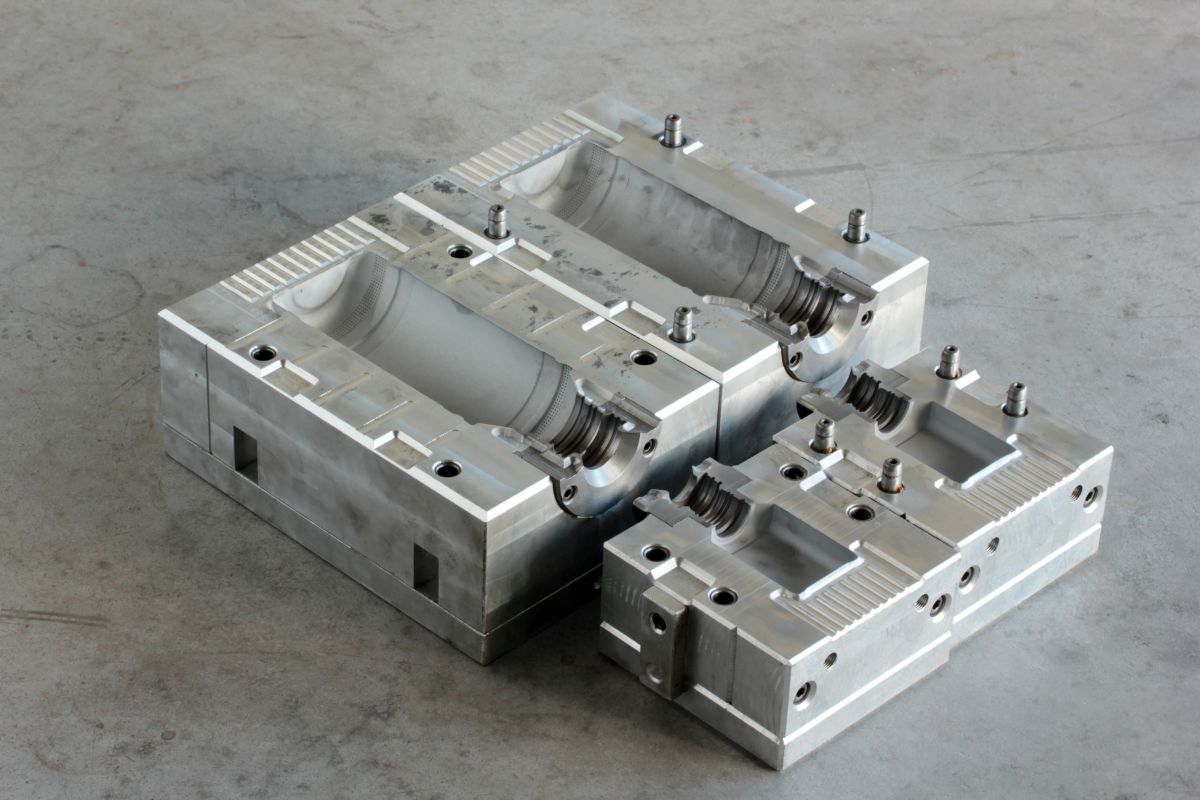
Our first tip: never forget the basics of the plastic injection molding process. This process requires two halves of a mold (which are hollowed with a negative image of your part), in which liquified plastic is injected into the mold and allowed to cool. You will need to work with a plastic mold maker to create one for your product.
This creates a couple of points to remember. First, there must be a location in the mold where the material can be injected — called the gate. Its position is an important part of the design, and typically, we recommend placing it at a thick, intersectional area where it can be removed without harming the structure or look of the part.
Second, consider the cooling process. At this stage, the liquified plastic will gradually shrink as it solidifies. This will affect your part dimensions and is an important factor for design elements (such as wall thickness).
Lastly, the part release. When the mold is opened, there will always be a small imperfection called a parting line, which is caused by the mold being made of two separate halves. This can’t be avoided, but you can place your parting line somewhere it won’t be noticeable.
This is another factor that will play into other tips in this article. Material selection is one of the most important decisions you’ll make in the injection molding process, as each resin will have different shrinkage factors, cooling time, viscosity, flexibility, and other properties.
Different resins might be more suitable for thick-walled plastic products, for example, while others may need different degrees of a draft to stay structurally sound.
A draft is a slight angle that helps the molded product during ejection. It’s necessary for helping it release from the mold without breaking, but it can cause some design troubles for certain products — especially for mating parts.
However, adding a draft early into your design can help resolve these problems early on. We highly recommend calculating for it as soon as possible, rather than having it as an afterthought.
Avoid having surfaces in your part with zero draft, too. If absolutely necessary for your design, try to minimize it to just a portion of the surface to avoid problems during ejection.
Radii are what we use to reduce shear and turbulence, which is often caused by sharp corners and sudden flow changes. This is necessary, as molten resin hates to be forced into sharp corners — especially once it cools. Smooth bends make for better fill and stronger parts, so avoid having any sharp transitions in your design.
Undercuts, which are areas that prevent the injection molded part from being ejected smoothly without damage, should always be avoided. Undercuts can be things like holes, or sections where the alignment is not perpendicular to the mold’s parting line.
The simpler your design is, the better. Try to remove any undercuts. If this doesn’t work for your product, consider lifter and slides, which can help allow undercuts to be formed in the main pull direction.
Constant wall thickness is recommended, as it will provide the best (and most consistent) flow for your part.
However, if smaller wall sections are a must, then we suggest making a transition from thick to thin from the gate location. This will help the part form better, as the plastic will naturally flow through features moving from greater to lesser wall thickness starting from the gate.
Sink, which is a surface depression caused by thicker sections of resin cooling more slowly, is another thing to avoid. You can prevent it by following the tip above. But, some other features can also cause sink, so consider the following changes to your design.
The first is to avoid gates, screw bosses, ribs, etc. on the back side of cosmetic surfaces. The second is to make sure any ribs have a height of three times or less than the part’s wall thickness. The third is to set rib bases at least 60% or less of the part’s wall thickness.
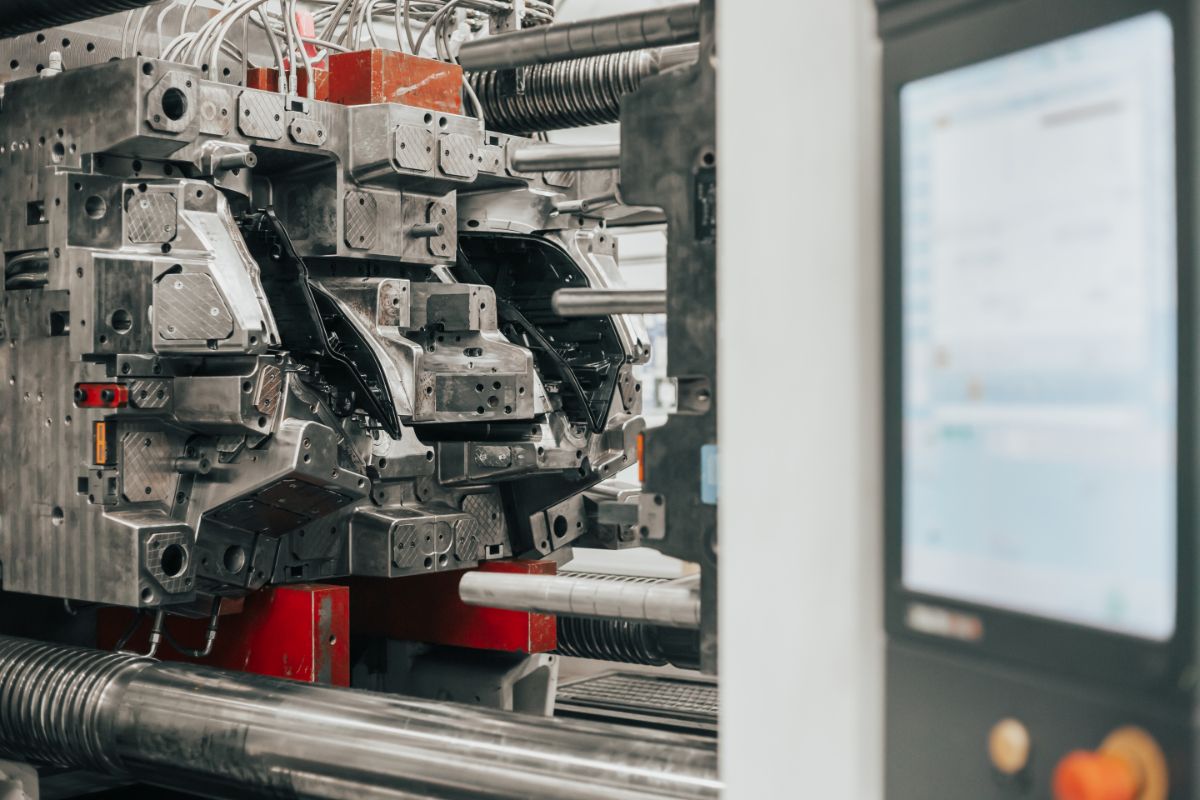
The force needed to release your part from its mold should also be taken into consideration. Ideally, you want this force to be balanced out over a larger surface area of the part. This may keep it from breaking or warping.
Additionally, things like stripper plates and ejector pins will be in the area surrounding your gate. These parts are needed to clear the gate of plastic, in case there is a short shot. They, however, put a lot of stress on the plastic surface near the gate.
So, it’s a good practice to make the part wall here thicker (if possible) or to use pads and other flat areas to provide a push-off section for the force and the pins to push against.
It can be very challenging for designers to create the perfect mold that is functional and creates the part you envisioned. Keeping these tips for improving plastic injection molding design can help you reduce the risk of issues with your mold, and put you on the right track toward proper mold design.
However, your best bet for designing clean, functional parts is to work with the best plastic mold maker: Richfields. With our years of experience across industries, we have the expertise and know-how needed to help you achieve the best results with your plastic-molded product. Contact us today!
Partnering with a single injection molding provider streamlines operations by centralizing oversight of design, prototyping, production, and quality checks, slashing administrative burdens and miscommunications.
Read more
Plastic injection molding progresses through design for manufacturability, prototyping, precision tooling, material selection, automated production, and post-processing to ensure defect-free parts.
Read more
Scaling consumer product lines demands seamless integration to overcome supplier misalignments and delays.
Read more
Material selection profoundly affects the performance, durability, and user experience of consumer products.
Read more